How to add recessed lighting in 2025 – Types, Layout, Cost

Recessed lighting is a lighting method in which lights are fully or partially embedded in the ceiling, wall or floor. For commercial and businesses, recessed lighting—also referred to as can lights, pot lights, or high hat lights—is a stylish, adaptable, and practical lighting option. Recessed lighting, which is intended to be flush with the wall or ceiling, offers subtle illumination that is suitable for both general and task lighting. 

recessed light coverage
options recessed lighting

Types of Recessed Lighting

Key features: Architectural integration, visual simplicity, glare reduction, and creation of unique light experience. The choice depends on desired light effect, installation location, and spatial style.
  1. Downlights/Recessed Lights The most common, round or square, embedded in the ceiling to project spotlight or floodlight downwards, used for basic lighting or accent lighting.
  2. Can Lights The most conventional kind are can lights, often known as recessed can lighting. These fixtures come in many diameters, including 4-inch, 5-inch, and 6-inch, and have a cylindrical housing that is mounted in the ceiling.
  3. Canless Recessed Lighting Canless recessed lighting is a contemporary substitute that does away with the necessity for large housings. These slim-profile lights are ideal for areas with shallow ceilings since they are simpler to install.
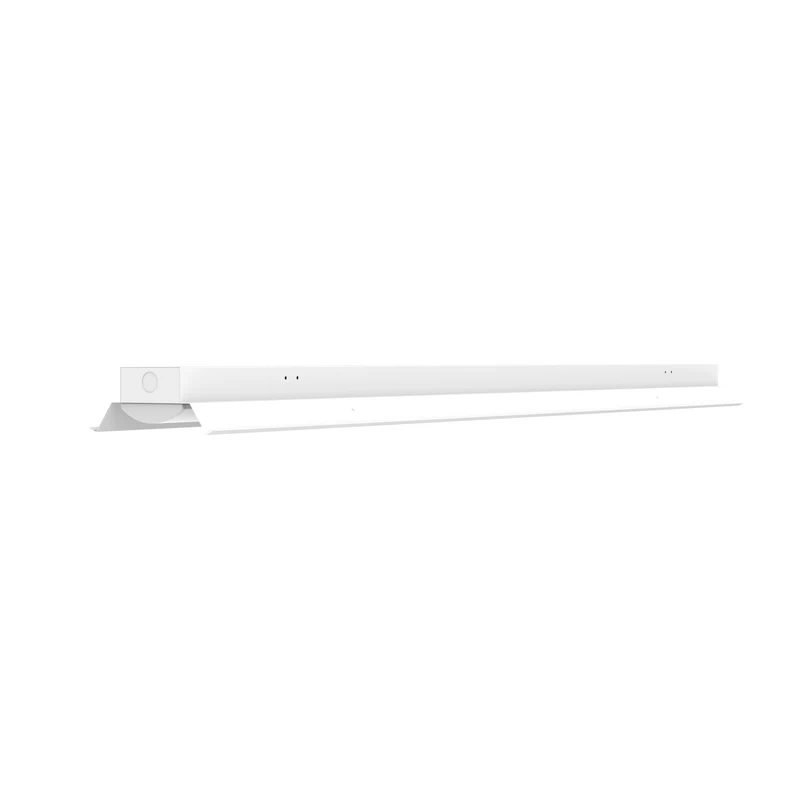
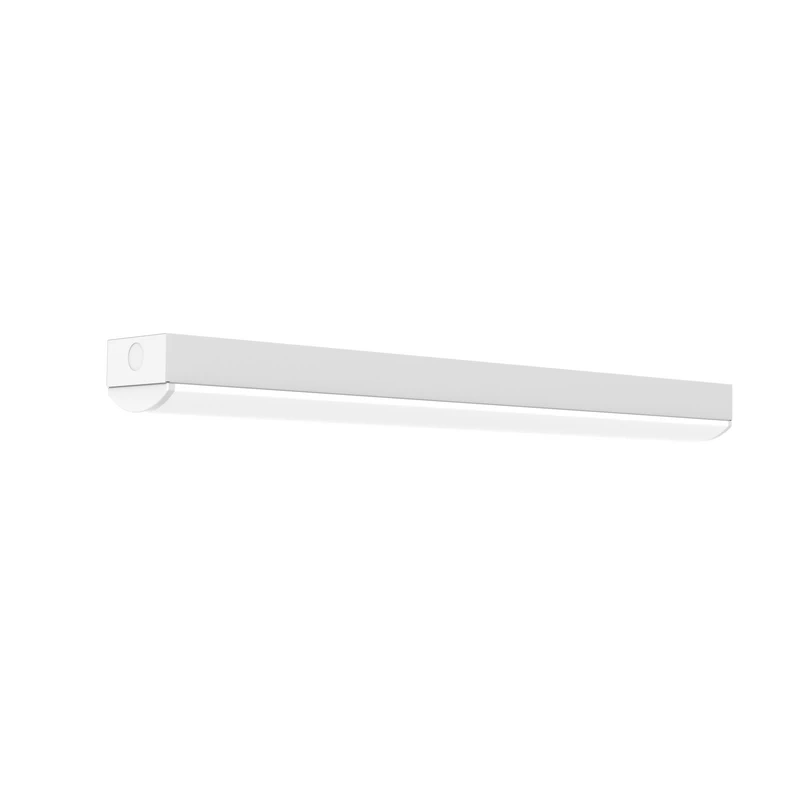
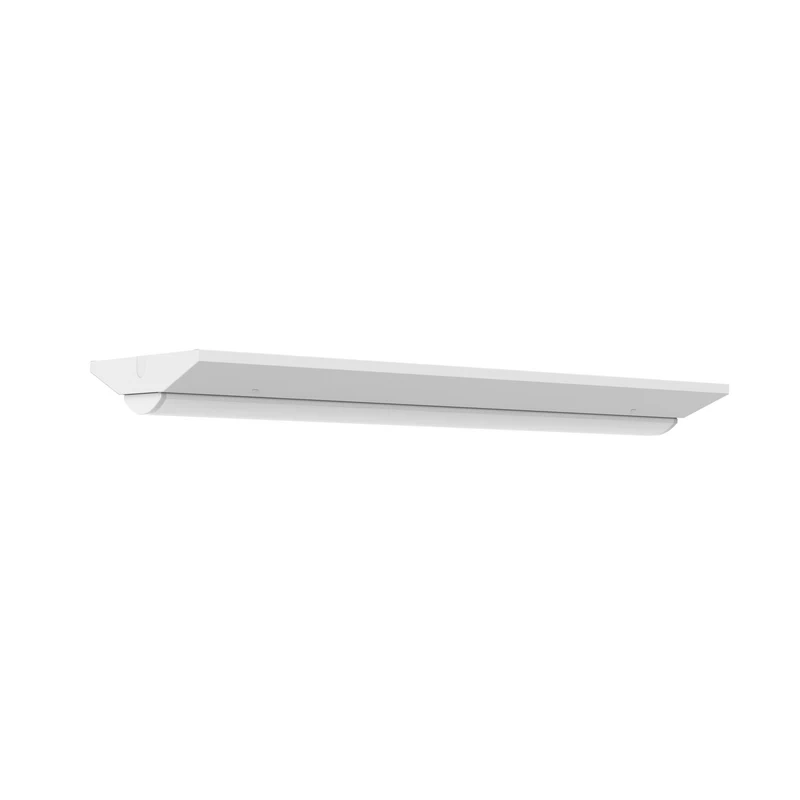
  4. Linear Recessed Lights These are long, narrow strips, such as “Japanese bracket lights“, that are recessed into ceiling and are available in variety of lengths. They provide linear, even illumination and create high-end or modern feel.
  5. Recessed Lights with a Wet Rating Perfect for shower recessed lighting and outdoor soffit lighting, wet-rated recessed lighting is made to resist moisture and humidity and is ideal for indoor  and outdoor use.
types of recessed lighting

Coverage Range of Recessed Lights

The coverage of recessed lights is determined by beam angle, installation height and illuminance. For example, if the required illuminance is higher, then light coverage needs to overlap.

Beam AngleCoverage DiameterDescription
20°~0.85 m / 2.8 ftSpot, Accent Lighting
40°~1.75 m / 5.7 ftMedium, Task Lighting
60°~2.75 m / 9 ftWide, Ambient Lighting
90°~4.2 m / 13.8 ftExtra Wide, Soft Flood

Note: The higher the luminaire is installed, the larger the coverage diameter will be; however, the brightness will also decrease. To ensure uniform lighting and illuminance, generally allow 30%–50% overlap of light.

recessed light coverage

Recessed Lighting Advantages

The primary advantage of recessed lighting is its seamless integration into architectural spaces, resulting in more streamlined and elegant visual experience. It effectively reduces glare and provides more precise, even light. It’s particularly well-suited for modern, minimalist, and sophisticated design styles.

AdvantageDescription
Clean AppearanceFixture hidden in structure, only light surface visible for a neat look.
Enhanced SpaceNo ceiling height loss, avoids pressure, space feels open.
Glare ControlAnti-glare design reduces direct light for comfort.
Flexible LightingVarious beams and styles for different needs.
Integrated DesignBlends with architecture, improves overall aesthetics.
Easy MaintenanceFlat surface for easy cleaning, no impact on ceiling/walls.

Recessed Lighting Installation

The installation of recessed lighting is a relatively professional process , requires electrician or professional lights installer to operate, and involves circuit modification and opening holes in building structure.

Installation Steps

  1. Planning and Positioning: Confirm the location and number of luminaires according to the blueprint, avoid obstructions, and mark the precise cutout points.
  2. Safe Cutouts: Always turn off the power! Use appropriate tools to cut holes in the ceiling or wall that precisely match the luminaire dimensions.
  3. Wiring and Connections: Run wires from the power source to each cutout, allowing for sufficient length for the wires. Connect the wires to the luminaire leads properly and insulate them.
  4. Securing the Luminaire: Push the luminaire into the hole and secure it securely with the included spring clips, clips, or screws.
  5. Installation and Commissioning: Power on all luminaires to test whether they are functioning properly. Some luminaires offer adjustable beam angles.

Cost To Install Recessed Lighting

The main expenses for installing recessed lighting are lights and workers. The cost of lights is affected by type, quality, brand, and function. The cost of installation workers is affected by complexity of installation and number of units.

  • Cost per light fixture: Approximately $50–$100
  • Labor costs: Typically $70–$200 per light. Electricians typically charge $80–$100 per hour, and each light fixture takes an average of 2–2.5 hours to install.
  • Additional costs: Materials, design costs, ceiling modifications, smart systems can add $200+ per light.

Recessed Lighting Layout

Design principles

  • Layered Lighting: A combination of basic lighting (even illumination) and accent lighting (highlighting objects/areas).
  • Preventing glare: Choose anti-glare lights or direct light away from the direct viewpoint.
  • Lighting density: Use a uniformly spaced grid or staggered grid distribution, with individual lighting for key areas.

Recessed lighting spacing​ (Reference

  • Light spacing (m) ≈ 0.5–0.75 × ceiling height (m)
  • Ceiling distance to wall (m) ≈ Use half the spacing between lights (0.5–0.75 × ceiling height (m) ×0.5) to avoid corners being too bright or too dark.
  • Hallway/Long area: arranged with fixed spacing along the center line; spacing is large (no more than 2–3 m).

Note: The specific spacing also needs to take into account light beam angle, luminous flux and required illumination.

recessed lighting layout

Layouts to Each Area

  • Living room: Grid or staggered grid (1.2–1.8 m spacing), used with floor lamps.
  • Kitchen: Densely distributed above the worktop (~1–1.5 m apart), with reinforcement at the stove/sink.
  • Bathroom: Use task lighting over the vanity and shower recessed lights.
  • Bedroom: Choose soft white recessed lights for a tranquil setting.
  • Shopping malls: Grid or staggered grid, 2–3m spacing.

Can Lights vs Canless Recessed Lighting

FeatureCan LightsCanless Recessed Lights
InstallationRequires more effortEasy and faster to install
ProfileBulky housing inside the ceilingSlim and low-profile design
CostGenerally less expensive upfrontHigher initial cost but more modern
Energy EfficiencyVaries depending on the bulb usedAlways LED for maximum efficiency

Recessed lighting can vs canless

Recessed Lighting Can Be Used Indoors and Outdoors

Indoor Applications

  • Accent Lighting: Highlight architectural details, artwork, or plants.
  • Task Lighting: Focus on specific spaces, such as kitchen counters or desks.

Outdoor Applications

  • Soffit Lighting: Use waterproof recessed lights to illuminate outdoor areas.
  • Landscape Lighting: Light gardens or walkways with directional trimmings.

Conclusion

A classic and adaptable option for both business and commercial settings is recessed lighting. Selecting the ideal recessed lighting fixtures may completely change your space, whether you’re remodeling your workroom or improving your outdoor spaces. 

People Also Ask

Which recessed lights use the least amount of energy?

The most energy-efficient choice is LED recessed lights.

Yes, but make sure they’re wet-rated for weather and moisture resistance.

Turn off the electricity, remove the trim, and replace the bulb.

Obviously not. While wider recessed light coverage does have advantages, such as fewer fixtures and a softer visual experience, it still has many drawbacks.

Different areas require different lighting requirements, depending on their intended use, space size, and visual impact.

There is no truly universal recessed lighting calculator, because the ideal layout depends on room size, ceiling height, beam angle, lumen output, and the lighting purpose. However, you can use a basic formula for an estimate:

Number of Lights ≈ (Room Area (sq ft) × Lux Level) / Lumens per Light

  1. Check ceiling structure to confirm it can accommodate the fixtures to avoid installation problems.
  2. Calculate whether the existing wiring can handle the total power draw of the new fixtures and add additional circuits if necessary.
  3. Determine the number and spacing of fixtures based on area requirements, ceiling height, and beam angle.
  4. Choose fixtures suitable for your ceiling.
  5. Observe fire and moisture protection regulations and local electrical codes.

Related Blogs

TALK TO OUR​

Pop-ups Contact Form